
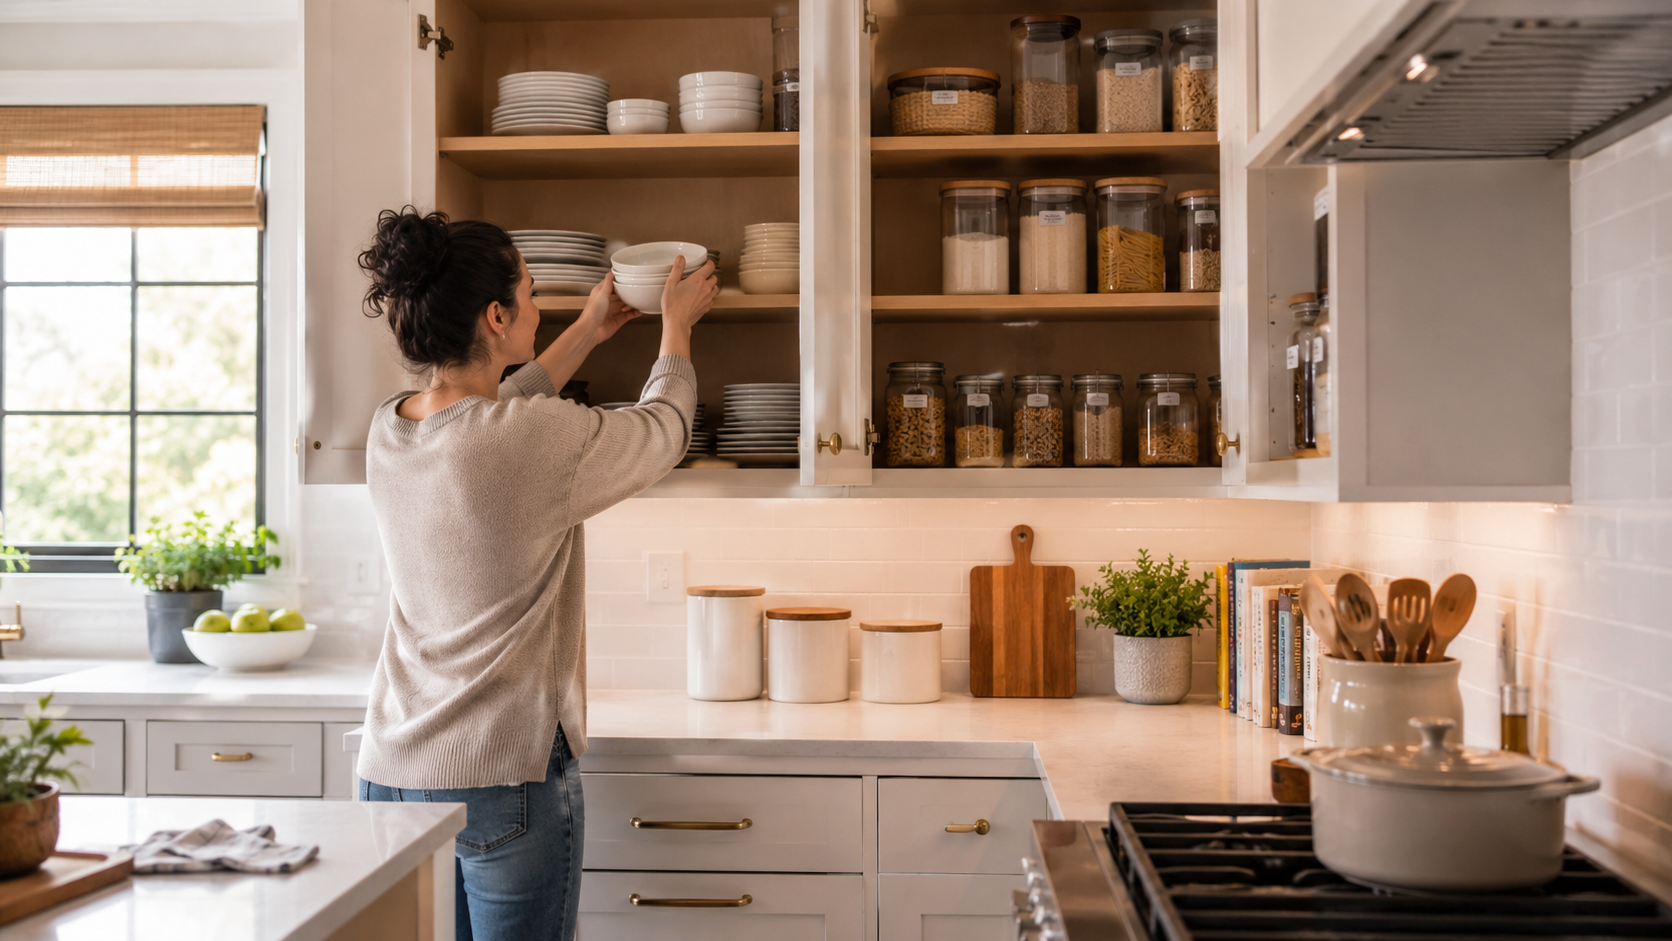
Kitchen cabinets rarely start out messy. They get that way one dish, one gadget, and one grocery trip at a time.
One day, everything has a place. A few weeks later, mugs are stacked on pots, and you can’t find the lid you need. This happens because kitchens get used every day, so clutter builds up fast without a system behind it.
Getting this right matters more than it seems. In one recent kitchen survey, more than half of homeowners said an organized kitchen would directly lower their daily stress, and cluttered drawers and counters topped their list of frustrations (Eagle Woodworking, 2025).
This guide walks you through a full plan, step by step. You’ll learn how to sort your items, decide where each one belongs, and build a system that survives busy weeknights, not just one clean weekend. Realistically, expect the first organizing session to take a few hours, not a few minutes. Once the system is in place, keeping it that way takes just minutes a week.
Quick Answer
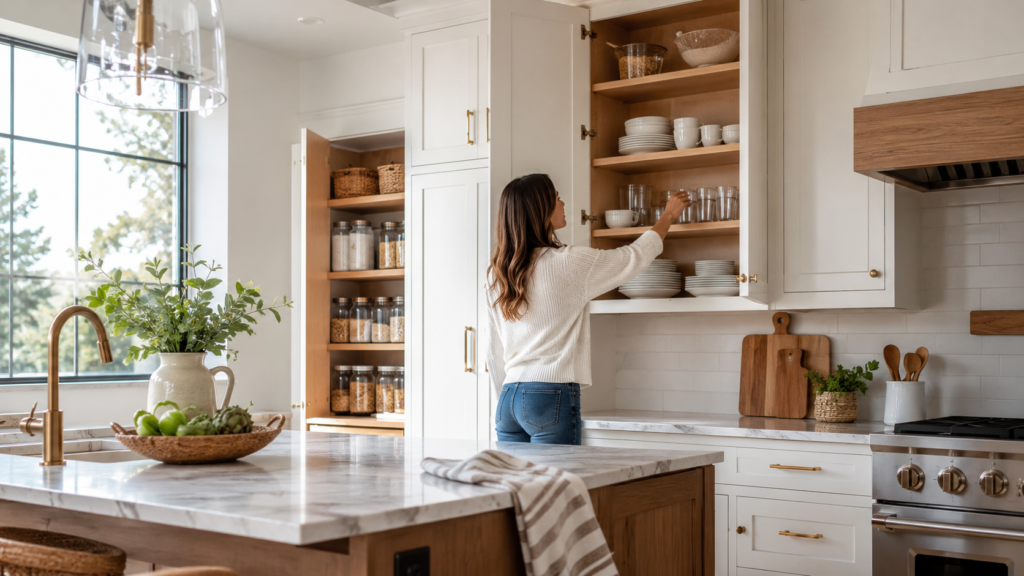
To organize kitchen cabinets, start by emptying every cabinet and cleaning the shelves. Sort items into categories like dishes, pots, pantry staples, and appliances. Get rid of anything broken, expired, or duplicated, and donate what you no longer use.
Next, assign each cabinet a job based on how you actually cook. Store everyday dishes at eye level, keep heavy pots in lower cabinets near the stove, and push rarely used items to high or hard-to-reach shelves. Add vertical storage tools, like shelf risers or stackable bins, to use the empty space above stacked items.
Finally, label shelves and bins so the system is easy to maintain. Do a quick five-minute reset after each grocery trip. A full reorganization once a year, with a quick check every three months, keeps everything from sliding back into clutter.
For most kitchens, the whole process takes about one to two hours of steady work, spread across sorting, cleaning, and putting items back in a smarter order.
At a Glance
| Time Required | 1–3 hours for an average kitchen |
| Difficulty | Beginner-friendly |
| Estimated Cost | $0–$75 (free using what you own, up to about $75 with labels and organizers) |
| Best For | Anyone with cluttered or hard-to-use cabinets |
| Skills Needed | None — just time and a simple system |
| Expected Results | Faster meal prep, less searching, and cabinets that stay organized |
Why Organizing Kitchen Cabinets Matters
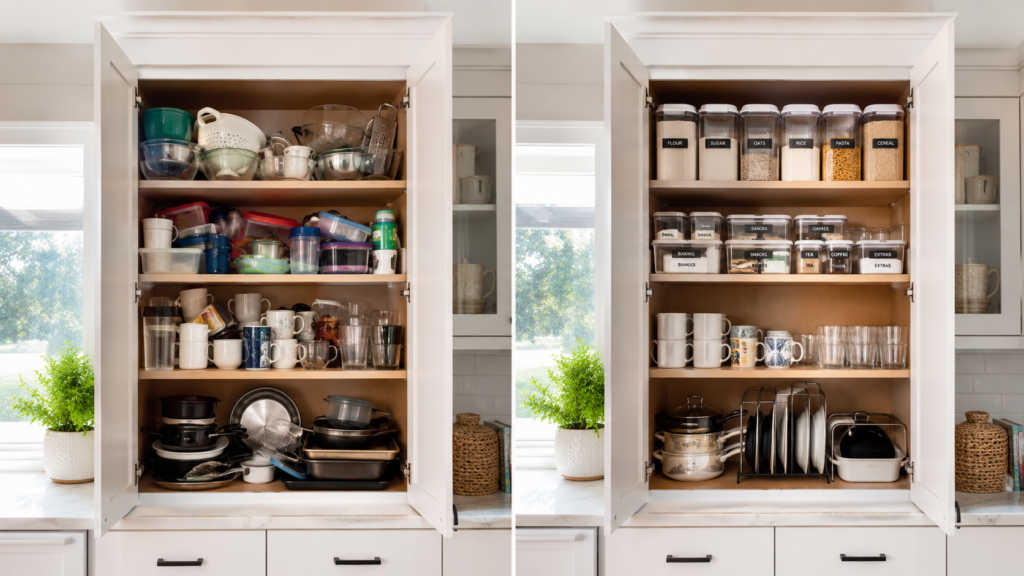
A well-organized kitchen saves time. You spend less time digging through cabinets and more time cooking.
It also protects your dishes and tools. Items stacked the wrong way chip, crack, or fall when you pull something from the bottom of the pile.
There’s a mental health angle, too. A landmark UCLA study of dual-income families found that cluttered homes were described as more stressful, linked to less healthy daily patterns of the stress hormone cortisol. A 2026 Forbes report added that people who see their homes as cluttered tend to report lower well-being overall.
Organized cabinets also make cooking more consistent. When you know where the flour, mixing bowls, and baking sheets live, following a recipe stops feeling like a scavenger hunt.
Safety Tip: Heavy items like stand mixers, large pots, or cast iron pans should never sit on a high shelf. Lifting them down awkwardly is one of the most common ways people strain a shoulder or drop something breakable in the kitchen.
If your kitchen needs more than a cabinet refresh, our guide to Kitchen Renovation on a Budget is a good next stop. The same mindset applies well beyond the kitchen, including in a small living room.
Before You Start
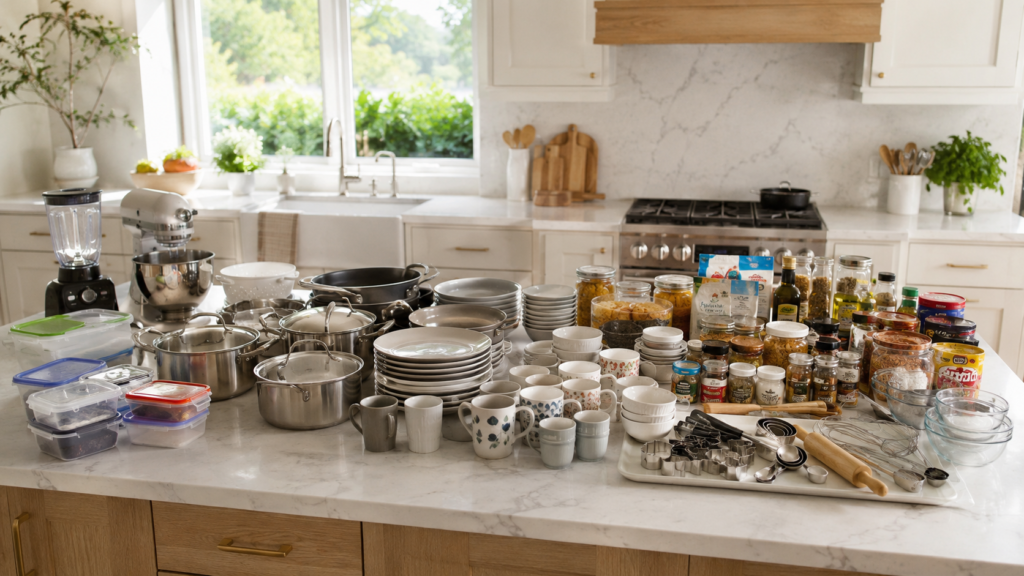
Don’t skip this stage. Reorganizing cluttered cabinets without emptying them first usually just rearranges the same mess.
- Empty everything. Take every item out of every cabinet, including the pantry. Spread items across the counter, or use laundry baskets, so you can see what you actually own.
- Clean the shelves. Wipe down shelves and liners while empty. Crumbs and sticky spots build up fast, especially near the stove.
- Declutter ruthlessly. Set aside anything broken, expired, or duplicated. Three can openers is one job for one tool, not three. If you hesitate on an item, set it in a “maybe” pile and decide later.
- Donate or discard unused items. If you haven’t used something in a year, it probably doesn’t need cabinet space. The EPA’s guidance on reducing and reusing household items notes that donating usable goods keeps them out of landfills and helps your community.
Trade-Off: The one-year rule is a useful default, not an absolute law. A turkey roaster or a candy thermometer might sit untouched for eleven months and then earn its keep every holiday season. Before donating something, ask whether it’s genuinely unused or just seasonal. Genuinely rare items still deserve a spot, just not a convenient one.
Pro Tip: Take a quick photo of each cabinet before you empty it, as a reference if you want to remember what used to live where.
Before You Start Checklist
- Clear a large surface for sorting
- Grab boxes or laundry baskets to hold items
- Have cleaning spray and a cloth ready
- Set aside a donation bag and a trash bag
- Block off one to two hours of uninterrupted time
For decluttering ideas beyond the kitchen, see our guide on Micro Renovation projects for small spaces.
Step 1: Sort Everything Into Categories
Once your cabinets are empty and clean, group items by type, not by where they used to live.
Common categories include:
- Everyday dishes and glasses
- Pots, pans, and lids
- Small appliances
- Baking supplies
- Food storage containers
- Pantry staples
- Cleaning supplies
Keep similar items together, even if they came out of different cabinets. This shows you exactly how much of each category you own. It’s common to discover twelve mismatched food storage lids and only four containers that still fit them.
Inside the pantry, sort one level deeper: shelf-stable staples like rice and canned goods, separate from snacks and baking ingredients. This makes it easier to spot what’s running low.
Trade-Off: Decanting staples like flour or rice into clear containers looks tidy and keeps pests out, but it’s easy to lose track of the original expiration date once the packaging is gone. Either drop the printed date label into the container, or write the date on with a grease pencil before you toss the box, so tidiness doesn’t come at the cost of food safety.
Why This Works
Grouping by type instead of by cabinet reveals duplicates and gaps you’d never notice otherwise. It also turns the next step, assigning cabinets, into a simple matching exercise.
Picture This: You just got back from grocery shopping. Where does the canned soup go? If you can answer instantly, your categories are working. If you hesitate, that item’s category needs a clearer home.
Common Mistake: Sorting by brand or where an item was purchased, instead of how it’s used. A gift set of specialty oils belongs with your everyday cooking oils, not shelved separately.
Step 2: Assign Cabinets by Function
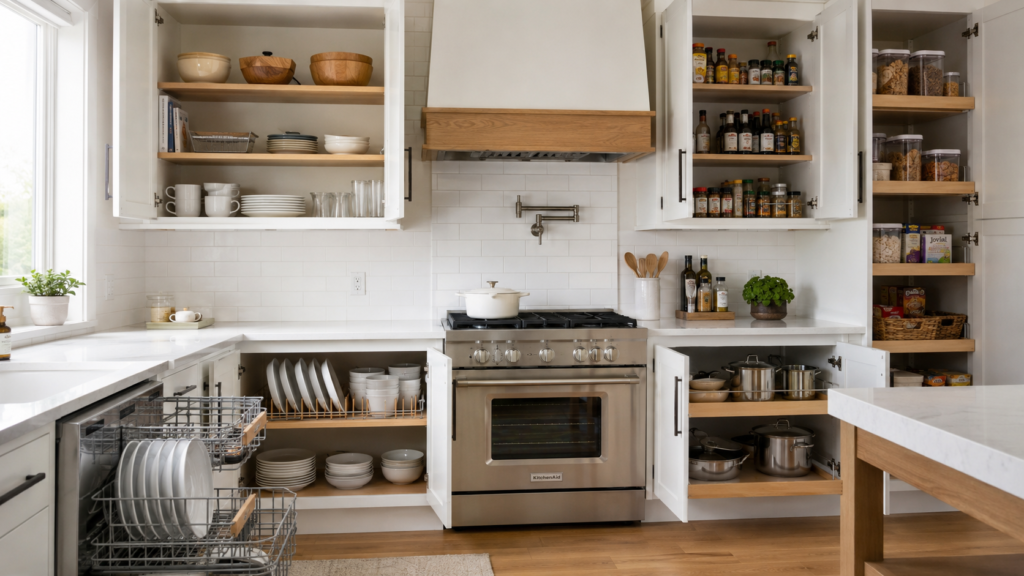
Now decide which cabinet holds which category. Base this on how your kitchen actually gets used, not just what looks tidy.
A simple way to keep cabinets organized is to store everyday dishes at eye level, moving seasonal items to higher shelves. This small change cuts down on daily clutter and makes cooking more efficient.
Trade-Off: Eye level is great for convenience, but it’s not automatically the right spot for every daily item. A heavy stack of dinner plates or a large serving bowl is still awkward and risky to lift down from shoulder height, even if you use it every day. When frequency and weight pull in different directions, weight should usually win: keep heavy daily items at waist height and accept the slightly longer reach for something lighter instead.
It also helps to think in zones around the stove, sink, and fridge, sometimes called the kitchen work triangle. Cooking tools belong near the stove, cutting boards near the sink, and quick-meal items near the fridge.
Trade-Off: The work triangle assumes one cook working in a compact, traditional layout. It breaks down in open-plan kitchens with islands, or in households where two people cook at once. If that sounds like your kitchen, organize around task zones instead, prep, cooking, and cleanup, rather than forcing a triangle that doesn’t match how the space actually gets used.
Here’s a general cabinet layout that works well for most kitchens:
| Cabinet Zone | Best Items to Store | Why It Works |
|---|---|---|
| Upper cabinets (eye level) | Everyday plates, bowls, glasses | Easy to reach during meals |
| Lower cabinets | Pots, pans, small appliances | Heavy items stay low and stable |
| Pantry | Dry food, canned goods, snacks | Keeps food visible and organized |
| Corner cabinets | Bulky or rarely used items | Awkward shape suits oversized gear |
| Cabinet near the stove | Oils, spices, cooking tools | Keeps essentials within arm’s reach |
Trade-Off: Storing spices right next to the stove is convenient, but heat and steam gradually break down their flavor and potency. If your stove runs hot or you cook with a lot of steam, a nearby drawer or a cabinet one step away is often the better trade between reach and shelf life. The same logic applies to oils, which turn rancid faster when they sit in a warm spot for months.
Decision Table: Matching Storage to Your Kitchen
| If your kitchen is… | Then… |
|---|---|
| Small, with limited cabinets | Prioritize vertical storage and door racks |
| Full of deep, hard-to-reach cabinets | Add pull-out shelves or drawer inserts |
| Cooking for a large family | Organize by meal type instead of item type |
| Rented, with fixed cabinets | Use freestanding shelves and stackable bins instead of built-ins |
Why This Works
Matching a cabinet’s location to how often you need an item cuts wasted motion. Over a week of cooking, those small trips add up.
Common Mistake: Assigning cabinets based on which one happens to be empty, instead of which makes sense for the task. The cabinet closest to the stove should hold cooking tools, even if it’s smaller than the one across the kitchen.
Group similar tasks together, too. Store baking pans, measuring cups, and mixing bowls together, since these show up in the same recipes.
Step 3: Store Items by Frequency of Use
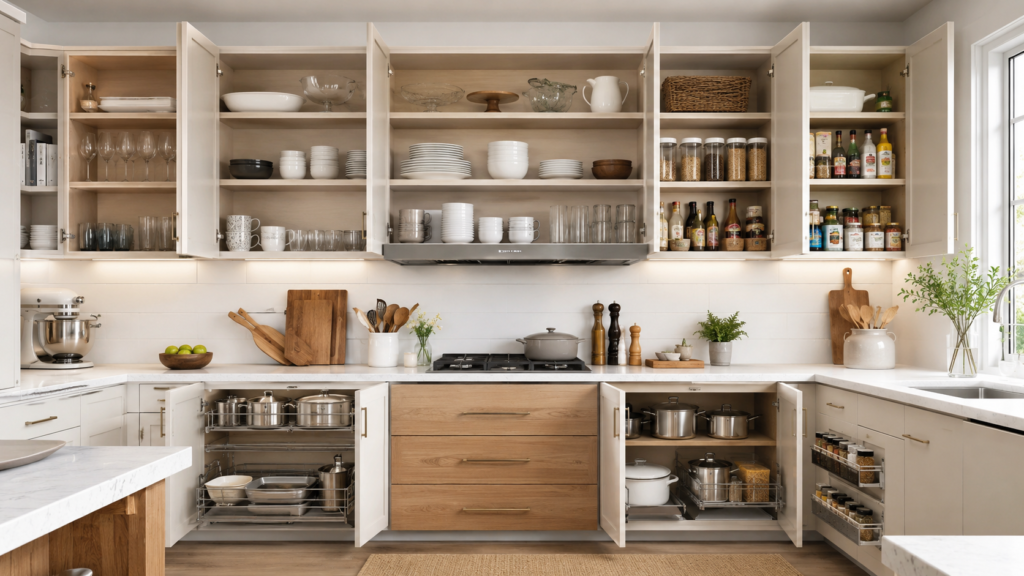
Not everything in your kitchen deserves prime real estate. Frequency of use should drive placement more than category alone.
| Frequency | Example Items | Best Storage Location |
|---|---|---|
| Daily | Everyday plates, mugs, pans | Eye-level shelves |
| Weekly | Baking trays, mixing bowls | Lower cabinets |
| Occasional | Holiday dishes, large platters | Top shelves or cabinet back |
| Rarely used | Fondue sets, specialty tools | Garage, basement, or high storage |
A good rule of thumb: if you reach for something daily, it should take one motion to grab. No bending or moving other items out of the way first.
A family that packs school lunches every morning should keep sandwich containers front and center. A holiday roasting pan used once a year can sit at the back of a top shelf without causing daily frustration.
Why This Works
Placing items by frequency, not just category, means your hands go straight to what you need most, without shuffling through things you rarely touch.
Quick Tip: Not sure how often you use something? Tape it, and remove the tape each time you use it. After a month, anything still taped hasn’t been touched.
Common Mistake: Keeping duplicate daily-use items, like three sets of measuring cups, spread across different zones. Consolidate duplicates first, or frequency-based storage won’t have room to work.
Step 4: Use Vertical Space Efficiently
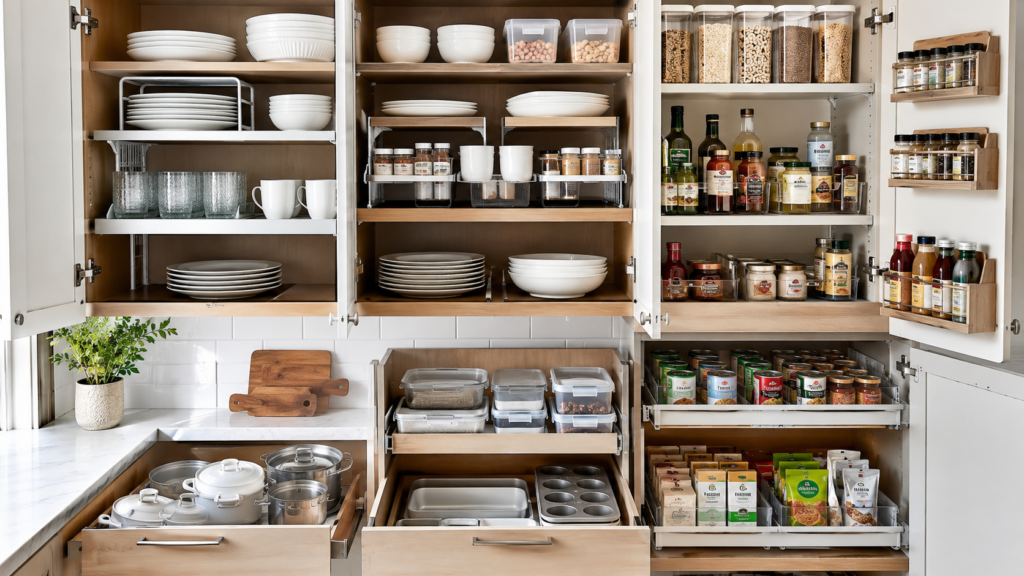
Most kitchen cabinets waste vertical space. There’s often a gap of several inches above stacked plates or bowls that goes completely unused.
Before buying anything, measure that gap with a tape measure. Risers and stacking racks come in different heights, and a quick measurement prevents buying something too tall to fit.
A few simple tools can fix this without any renovation work:
| Tool | Best For | Approximate Cost |
|---|---|---|
| Shelf risers | Doubling space for plates or canned goods | $15–$30 |
| Stackable bins | Grouping snacks or pantry items | $10–$25 |
| Door-mounted racks | Spices, foil, cleaning supplies | $10–$20 |
| Pull-out drawers | Deep lower cabinets | $20–$50 |
Even the space above upper cabinets can help, if your kitchen has it. Store rarely used platters in bins up there.
Trade-Off: Space above the cabinets is easy to fill, but it’s also the hardest to reach safely, usually requiring a step stool. Reserve it only for items you’d genuinely accept climbing for once or twice a year, like a turkey roaster. Anything you might want on short notice belongs somewhere you can reach without a ladder.
Why This Works
Most cabinets are taller than the items stored inside them. Closing that vertical gap effectively adds shelf space without adding a new cabinet.
Save Money Tip: Before buying risers or bins, check what you already own. A sturdy shoebox or a repurposed drawer divider often works just as well, at no extra cost.
Common Mistake: Buying organizers before measuring. A riser or bin that’s too tall for the shelf above it just becomes new clutter.
Step 5: Label Everything
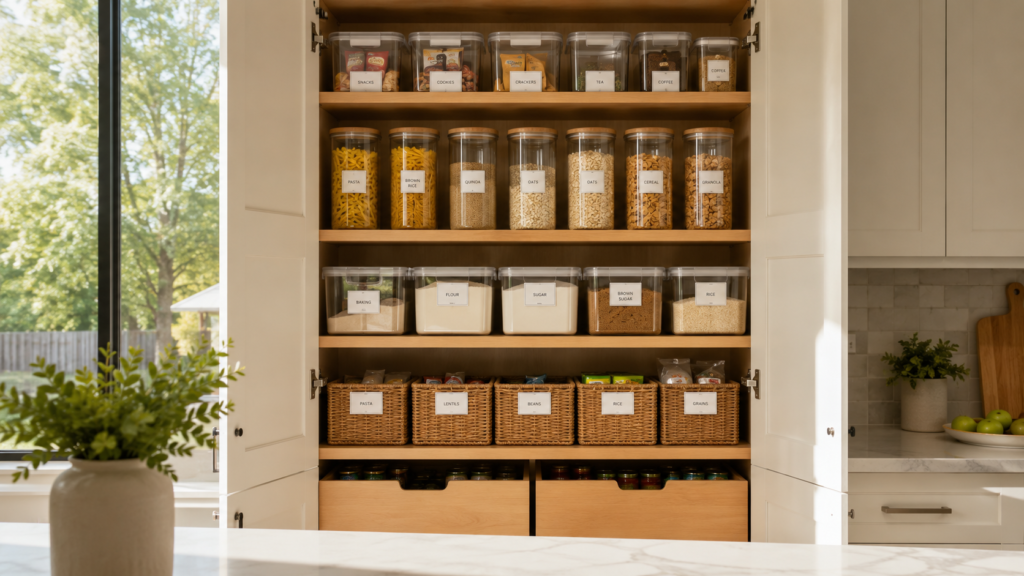
Labels are the difference between a system that lasts and one that falls apart within a month.
Label shelves, not just containers. If everyone in the house knows the second shelf is for baking supplies, items are far more likely to end up back in the right place.
A few simple label ideas:
- Printed labels for pantry bins
- Small chalkboard tags for open shelves
- Painter’s tape and a marker, for a quick, low-cost option
Trade-Off: Labeling makes a system easier to maintain, but paper labels near a dishwasher, sink, or stove can peel or fade within months from steam and moisture. If a shelf sits close to a heat or moisture source, a laminated tag or a wipeable marker holds up far better than tape and paper, even though it costs a little more upfront.
In the pantry, it also helps to write the purchase month on bins or jars for staples you decant, like flour or rice. It’s a small habit that makes it easy to spot older stock before buying more.
Why This Works
Labels turn an organizing system into a shared habit. Everyone in the house can put things back correctly, without needing to ask or guess.
Common Mistake: Labeling containers but not shelves. If a container gets moved or replaced, an unlabeled shelf reverts to chaos fast.
Good Practice vs. Poor Practice
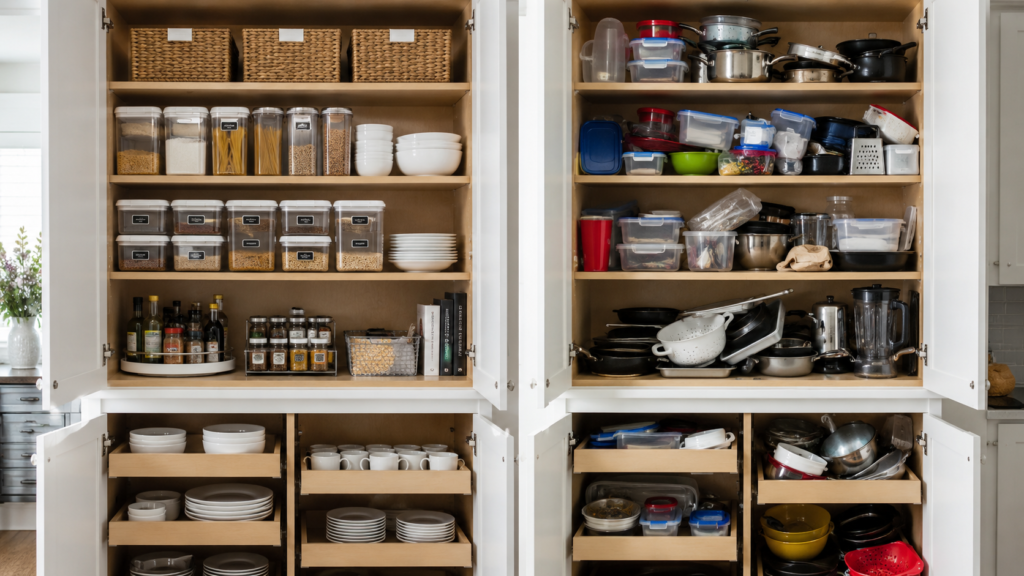
A few side-by-side comparisons show where a layout is working, and where it’s fighting against you.
| Good Practice | Poor Practice |
|---|---|
| Store plates near the dishwasher | Store plates across the kitchen from the dishwasher |
| Keep coffee mugs within one arm’s reach of the coffee maker | Store mugs in a cabinet far from where coffee is made |
| Group all baking tools together | Scatter baking tools across multiple cabinets |
| Label pantry bins by category | Leave bins unlabeled and mixed together |
| Store heavy pots at waist height | Store heavy pots on a high shelf |
Pro Insight: Many people organize cabinets based on whatever space happens to be available. Organizing around your daily cooking tasks instead usually creates a workflow that feels far more natural, even if it means breaking a few old habits.
Once your cabinets are sorted, some homeowners like to refresh the look too. Our guide on how to paint kitchen cabinets is a natural next project.
How to Organize Cabinets for Your Situation
The steps above work for most kitchens, but a few situations call for small adjustments.
If You Rent Your Home
Skip anything permanent. Use tension-mounted shelves, stackable bins, and adhesive hooks that come off cleanly, so organizers move with you.
If You Have Toddlers
Keep sharp tools, glass, and cleaning supplies in high or locked cabinets. Give toddlers a low, safe cabinet with plastic cups they’re allowed to touch.
If You Cook Every Day
Prioritize speed. Keep your five most-used tools and ingredients in one zone, ideally between the stove and counter, so cooking never needs a detour.
If You Have a Tiny Kitchen
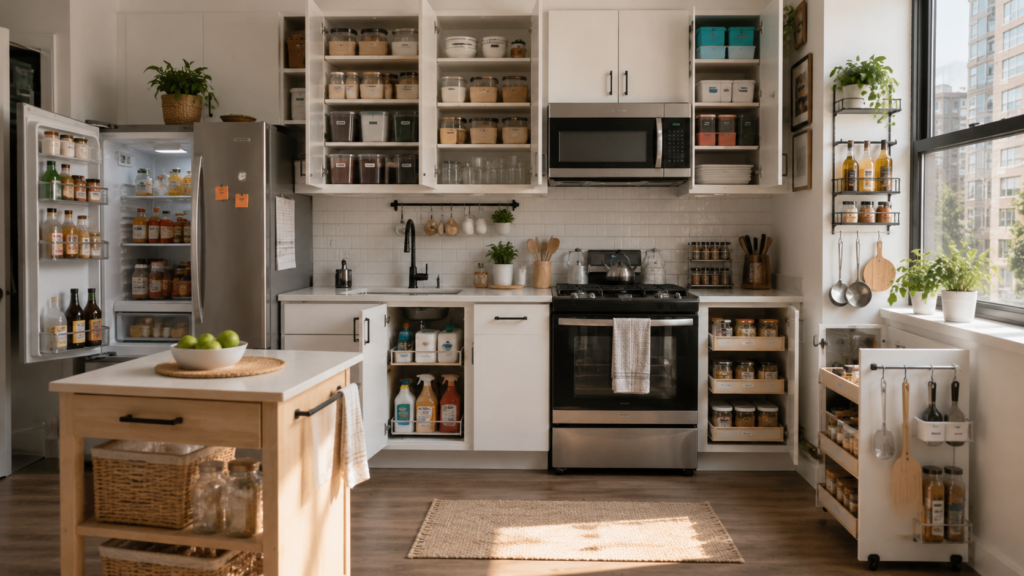
Vertical space and door storage matter more than ever. Store rarely used bakeware outside the kitchen entirely, in a hall closet or nearby pantry.
If You Have Limited Mobility
Keep everyday items between waist and shoulder height. A pull-down shelf or a lazy Susan can reduce how far you need to reach or bend.
Do You Really Need More Storage?
Not sure if you need new organizers, or just a better system? Walk through this before you buy anything.
Do your cabinets feel full?
- No → You likely just need better organization, not more storage. Revisit Step 1.
- Yes → Continue.
Have you decluttered in the last 12 months?
- No → Declutter first. Many “full” cabinets are full of items you no longer use.
- Yes → Continue.
Are cabinets still full after decluttering?
- No → You’re likely finished. Focus on the maintenance tips instead.
- Yes → Now is a reasonable time to invest in risers, bins, or pull-out shelves.
Maintenance Tips
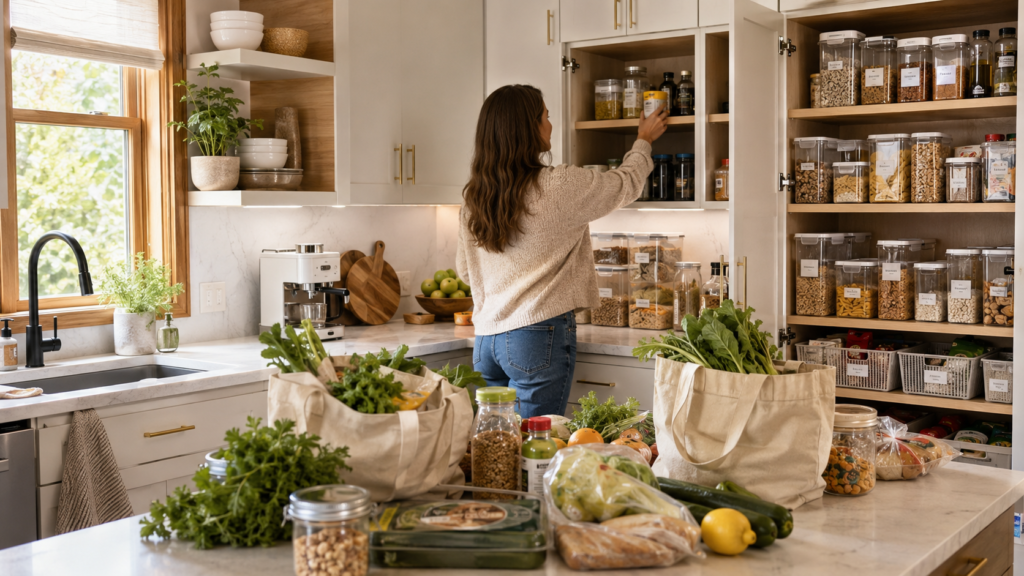
Good cabinet organization ideas only work long-term with a little upkeep.
- Do a five-minute reset after grocery shopping. Put new items where they belong right away, not on the counter “for later.”
- Review your pantry every three months. Check expiration dates using the USDA FoodKeeper storage guidelines, and remove anything past its date.
- Re-donate seasonal items you didn’t use this year.
- Wipe shelves during your regular kitchen cleaning, rather than as a separate task.
- Get everyone in the household on the same system. One person putting things in random spots can undo the whole plan.
The USDA estimates that roughly one-fifth of the food available to U.S. households goes uneaten every year. A quick monthly pantry check is one of the simplest ways to catch expired items before they add to that number.
Do a bigger check before big cooking seasons, like the winter holidays. Pull out serving dishes ahead of time and confirm they’re still easy to reach.
Weekly Checklist
- Put away new grocery items immediately
- Return any misplaced items to their labeled spot
- Wipe up spills inside cabinets right away
Monthly Checklist
- Check pantry items for expiration dates
- Confirm labels are still accurate
- Spot-check that heavy items are still stored safely
Kitchen Organization Checklist
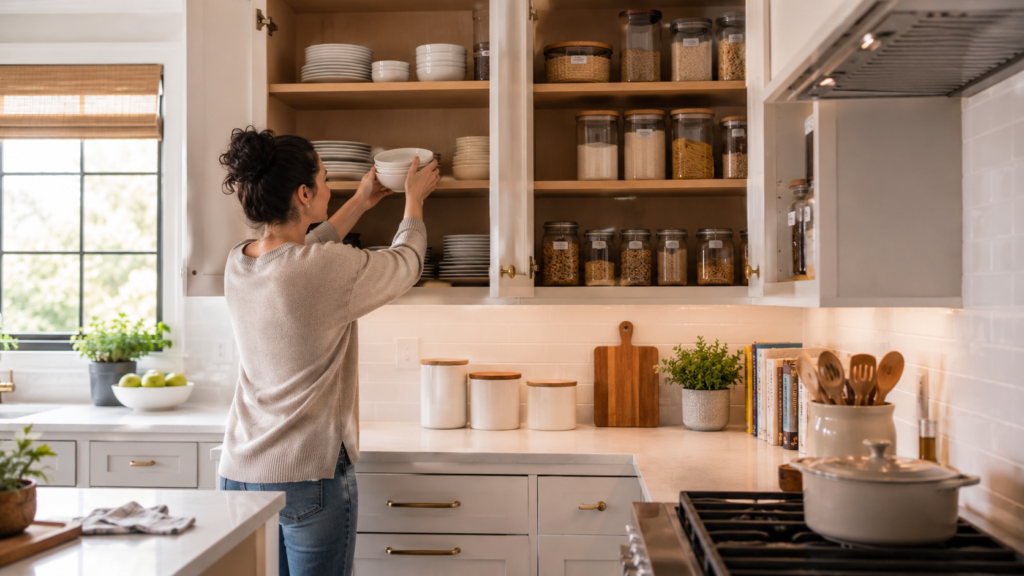
Use this as a full recap once you’re ready to put the whole system into practice.
- Empty and clean every cabinet
- Declutter and donate unused items
- Sort items into clear categories
- Assign each cabinet a function
- Store items by frequency of use
- Add vertical storage where needed
- Label shelves and containers
- Do a weekly five-minute reset
- Review the whole system every three months
Frequently Asked Questions
How often should you organize kitchen cabinets?
A full reorganization once a year is usually enough for most homes, since that’s roughly how long it takes for real clutter to build back up. A quicker check every three months, especially in the pantry, keeps small messes from turning into big ones. Busy households with kids or frequent guests may benefit from a monthly glance instead. The exact schedule matters less than picking one and sticking to it consistently, since irregular check-ins let clutter creep back in without anyone noticing until it’s a bigger job.
Where should pots and pans go?
Pots and pans are heavy, so they belong in lower cabinets near the stove, within a single step of where you cook. A pull-out drawer or pot rack insert makes them easier to reach without stacking, which also protects nonstick coatings from scratches. If lower cabinet space is tight, a wall-mounted rack near the stove keeps pans visible and accessible. Avoid nesting more than three or four pots together, since digging one out from the bottom is exactly the friction good organization removes.
What should be stored near the stove?
Keep oils, spices, and the cooking tools you use daily near the stove, ideally within arm’s reach. This keeps your hands full of what you need, instead of walking across the kitchen mid-recipe while something simmers unattended. A small drawer or door-mounted rack works well here, since it keeps items visible without using counter space. Be mindful of heat and grease buildup over time, and avoid storing anything flammable, like paper towels or wooden utensils, directly above an open burner.
How do professionals organize kitchens?
Professional organizers usually start by emptying everything, then group items by category and frequency of use, similar to the steps in this guide. Groups such as NAPO, the National Association of Productivity & Organizing Professionals, train members in these exact methods. What often sets a professional result apart isn’t a secret trick, it’s consistency: every cabinet gets a clearly defined job, and nothing gets stored somewhere “for now.” Labeling is usually the non-negotiable final step, since it’s what keeps a new system intact after the first few weeks.
What is the best way to organize a small kitchen?
Small kitchens benefit most from vertical storage and multi-use tools. Stackable bins, door racks, and shelf risers create extra room without adding a single cabinet. It also helps to store duplicate or bulky items, like a second set of holiday dishes, somewhere outside the kitchen entirely, such as a hall closet. Being selective about what earns cabinet space matters more in a small kitchen than a large one, since every single shelf ends up doing double duty for two or three different tasks.
Should plates be stored horizontally or vertically?
Either works well, and the better choice depends on your cabinet height and how many people use the kitchen. Vertical plate racks make it easier to grab one plate without lifting a whole stack, which is useful in shared households with different daily schedules. Horizontal stacking works fine in cabinets with more height than width, and it’s the simpler, cheaper option if you’re not adding extra organizers. If you usually reach for just one or two plates at a time, vertical storage will likely save the most daily hassle.
How do I stop my cabinets from getting messy again?
Consistent habits matter more than the system itself. A quick five-minute reset after shopping trips, plus sticking to labeled zones, prevents most repeat clutter before it starts. It also helps to get everyone in the household on board, since one person putting things back randomly can undo weeks of good habits. If clutter keeps returning to the same cabinet, that’s usually a sign the assigned category doesn’t match how that space actually gets used, and it’s worth reassigning rather than reorganizing the same way again.
Do I need special tools to organize kitchen cabinets?
No. Many kitchens can be organized well with just tape, labels, and a few bins you already own around the house. Tools like risers and pull-out drawers help, especially in tall or deep cabinets, but they’re optional upgrades, not requirements for getting started. On a tight budget, prioritize decluttering and labeling first, since those two steps deliver most of the benefit on their own. Add organizers later, once you know exactly where the remaining gaps in your storage actually are.
Key Takeaways
- ✓ Empty everything first, don’t organize around existing clutter.
- ✓ Declutter and donate before buying any organizers.
- ✓ Group items by function, not by leftover space.
- ✓ Store daily items at eye level, heavy items low.
- ✓ Label shelves, not just containers.
- ✓ Review the whole system every three months.
Conclusion
The biggest lesson here is simple: organizing kitchen cabinets isn’t a one-day miracle, it’s a system you build once and maintain in small steps.
Start today by emptying just one cabinet and sorting what’s inside. Assign it a clear job based on how you actually cook, then repeat for the rest.
Realistically, expect the first full pass to take a few hours over a weekend, with some trial and error before the layout feels natural. That’s normal, and it’s part of building a system that fits your kitchen specifically.
Once it’s in place, add labels, use your vertical space, and check in every few months. None of this requires new cabinets or a big budget, just a plan, a few hours, and a habit of putting things back where they belong. From here, a fresh coat of paint is often the natural next step.